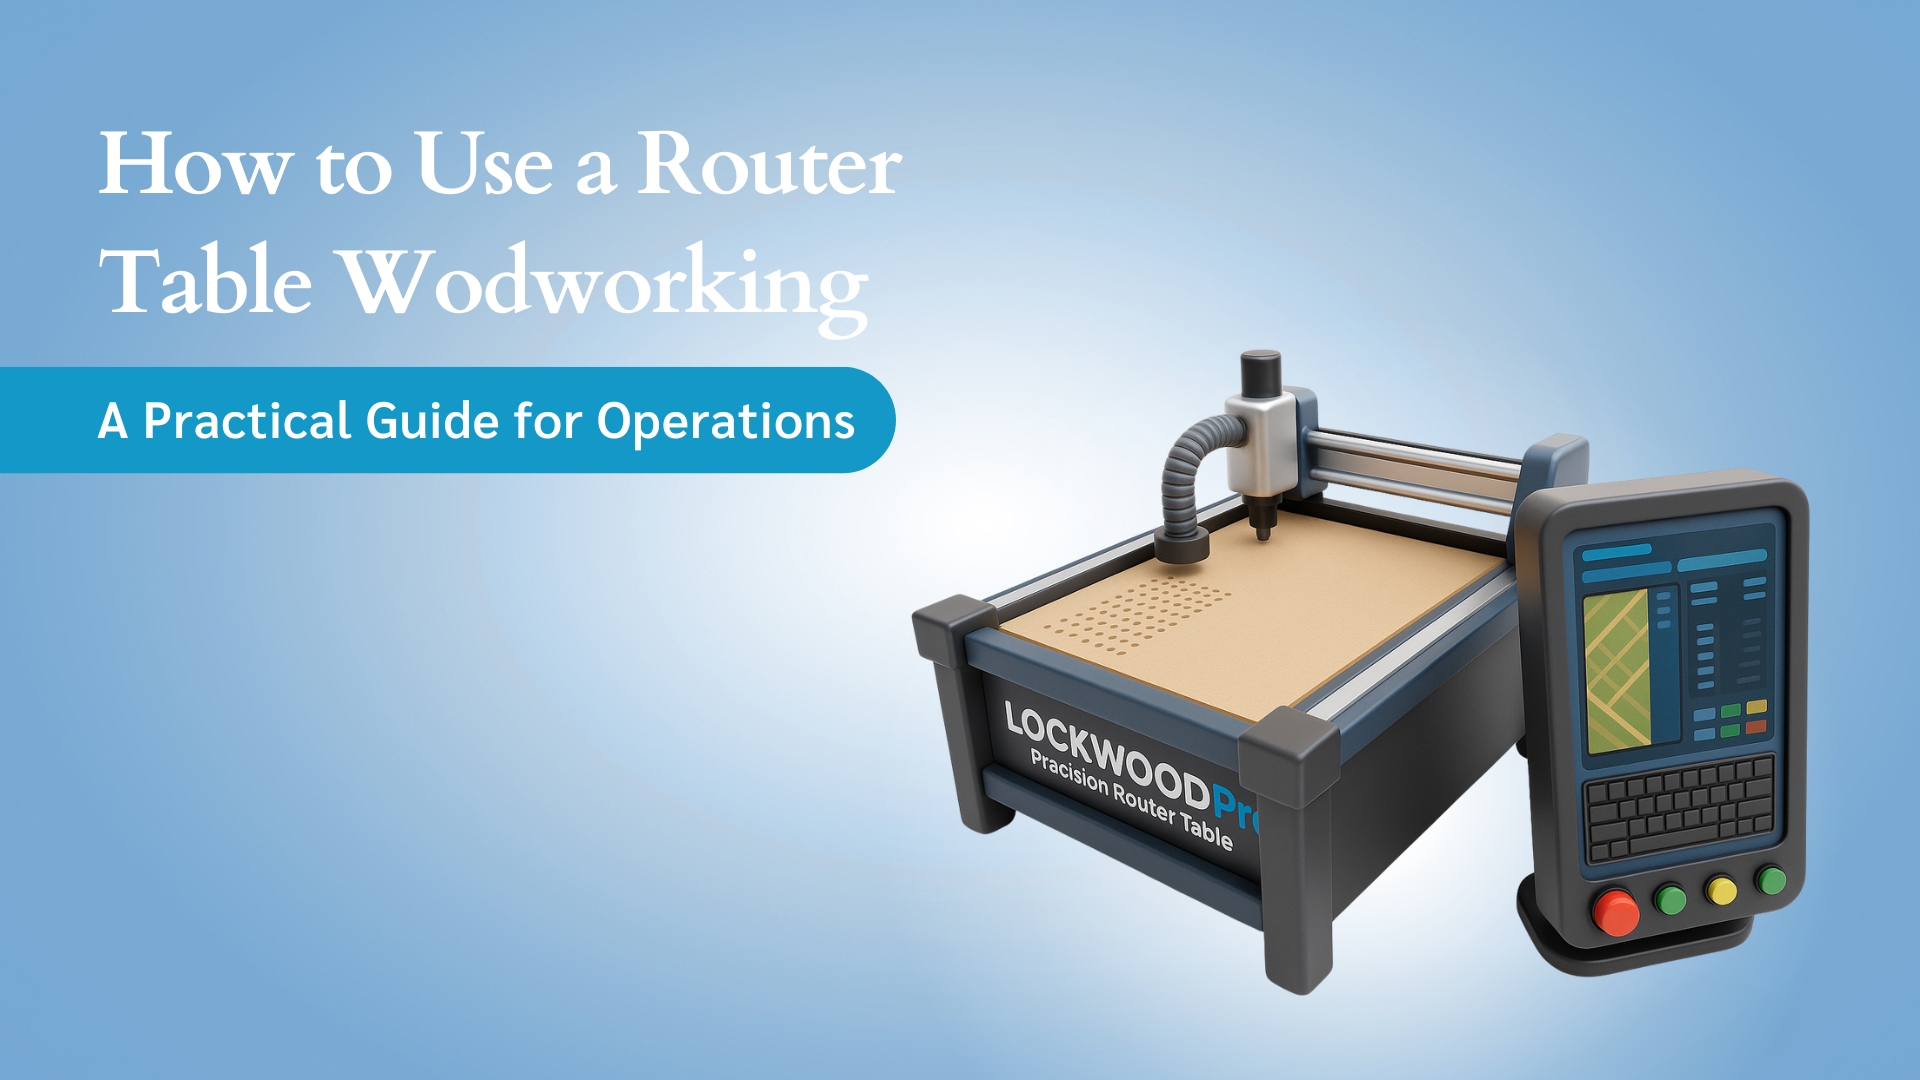
Wood routers are essential in woodworking operations, providing the precision needed to shape, cut, and finish wood components effectively. They are particularly important for tasks such as edge profiling, creating decorative patterns, and forming intricate grooves, all of which contribute to consistent, high-quality outputs.
Yet, even the most advanced routers can produce poor results if setup, bit selection, or handling is not carefully managed. Mistakes can result in material waste, reduced efficiency, and operational delays that impact project timelines.
To address these challenges, this guide outlines how to use a wood router effectively, presenting structured practices that help maintain accuracy, reliability, and efficiency throughout every project.
Key Takeaways:
Always inspect router bits before each use to check for wear, chips, or damage, ensuring clean and precise cuts while preventing mistakes or accidents.
Adjust the router speed according to the bit size and material type, which helps achieve smooth cuts and prevents burning or tear-out.
Secure the workpiece firmly using clamps, mats, or jigs to maintain accuracy and reduce the risk of movement during routing.
Wear proper protective gear, including eye and ear protection, and consider gloves or dust masks when working with hardwoods or during extended sessions.
Begin with shallow cuts and gradually increase the depth over multiple passes to improve control, reduce tear-out, and protect your tools.
How Wood Routers Operate: Essential Insights for Accurate Cutting
A wood router removes material by spinning a cutting bit at high speeds, allowing you to shape edges, form grooves, and execute precise cuts. The design and size of the bit determine both the cut pattern and depth, directly influencing the quality of the final piece.
For woodworking professionals, understanding router operation is crucial to achieving accurate results, minimizing waste, and maintaining project efficiency. Proper use of a router enables you to:
Using a router properly allows you to produce clean and uniform edges and grooves on your workpieces.
It also helps you save time compared to manual shaping or cutting methods.
Additionally, correct operation limits material waste and reduces the need for corrections or rework.
Proper handling and maintenance further preserve the life of your tools, ensuring consistent performance over time.
To operate a router effectively, it is essential to understand the role of each component, as each part directly impacts precision, safety, and overall results. The main components and their functions are outlined below:
Component | Function in Operation | Effect on Results |
Router Base | The base stabilizes the router and guides the bit. | Provides precise and controlled cuts. |
Collet | The collet secures the router bit in place. | Prevents the bit from slipping and enhances safety. |
Router Bit | The bit performs the cutting or shaping of wood. | Determines the style, depth, and quality of the cut. |
Speed Control | Adjusts the rotational speed of the bit. | Ensures smooth finishes and prevents wood scorching. |
Fence or Guide | Serves as a reference edge for guiding cuts. | Maintains straight and consistent cuts along the workpiece. |
Familiarity with these components and how they function is essential for safe router operation, minimizing errors, and consistently achieving professional-quality results.
Maintaining these KPIs requires more than routine technical checks. Here’s where Cutting Edge Plasma helps ensure reliable operations by supporting best practices and structured maintenance routines.
Machines like Lockwood PRO 5100, Lockwood PRO 4800, and Lockwood PRO 4400 CNC Routers are built for consistent performance and easier maintenance, with features like adjustable cutting height to keep cuts clean and anti-dive technology to prevent tool dips.
A cleaner workspace allows longer jobs without mess or slowdowns. These solutions support stable throughput, predictable results, and reduced unplanned downtime, helping operations run smoothly.
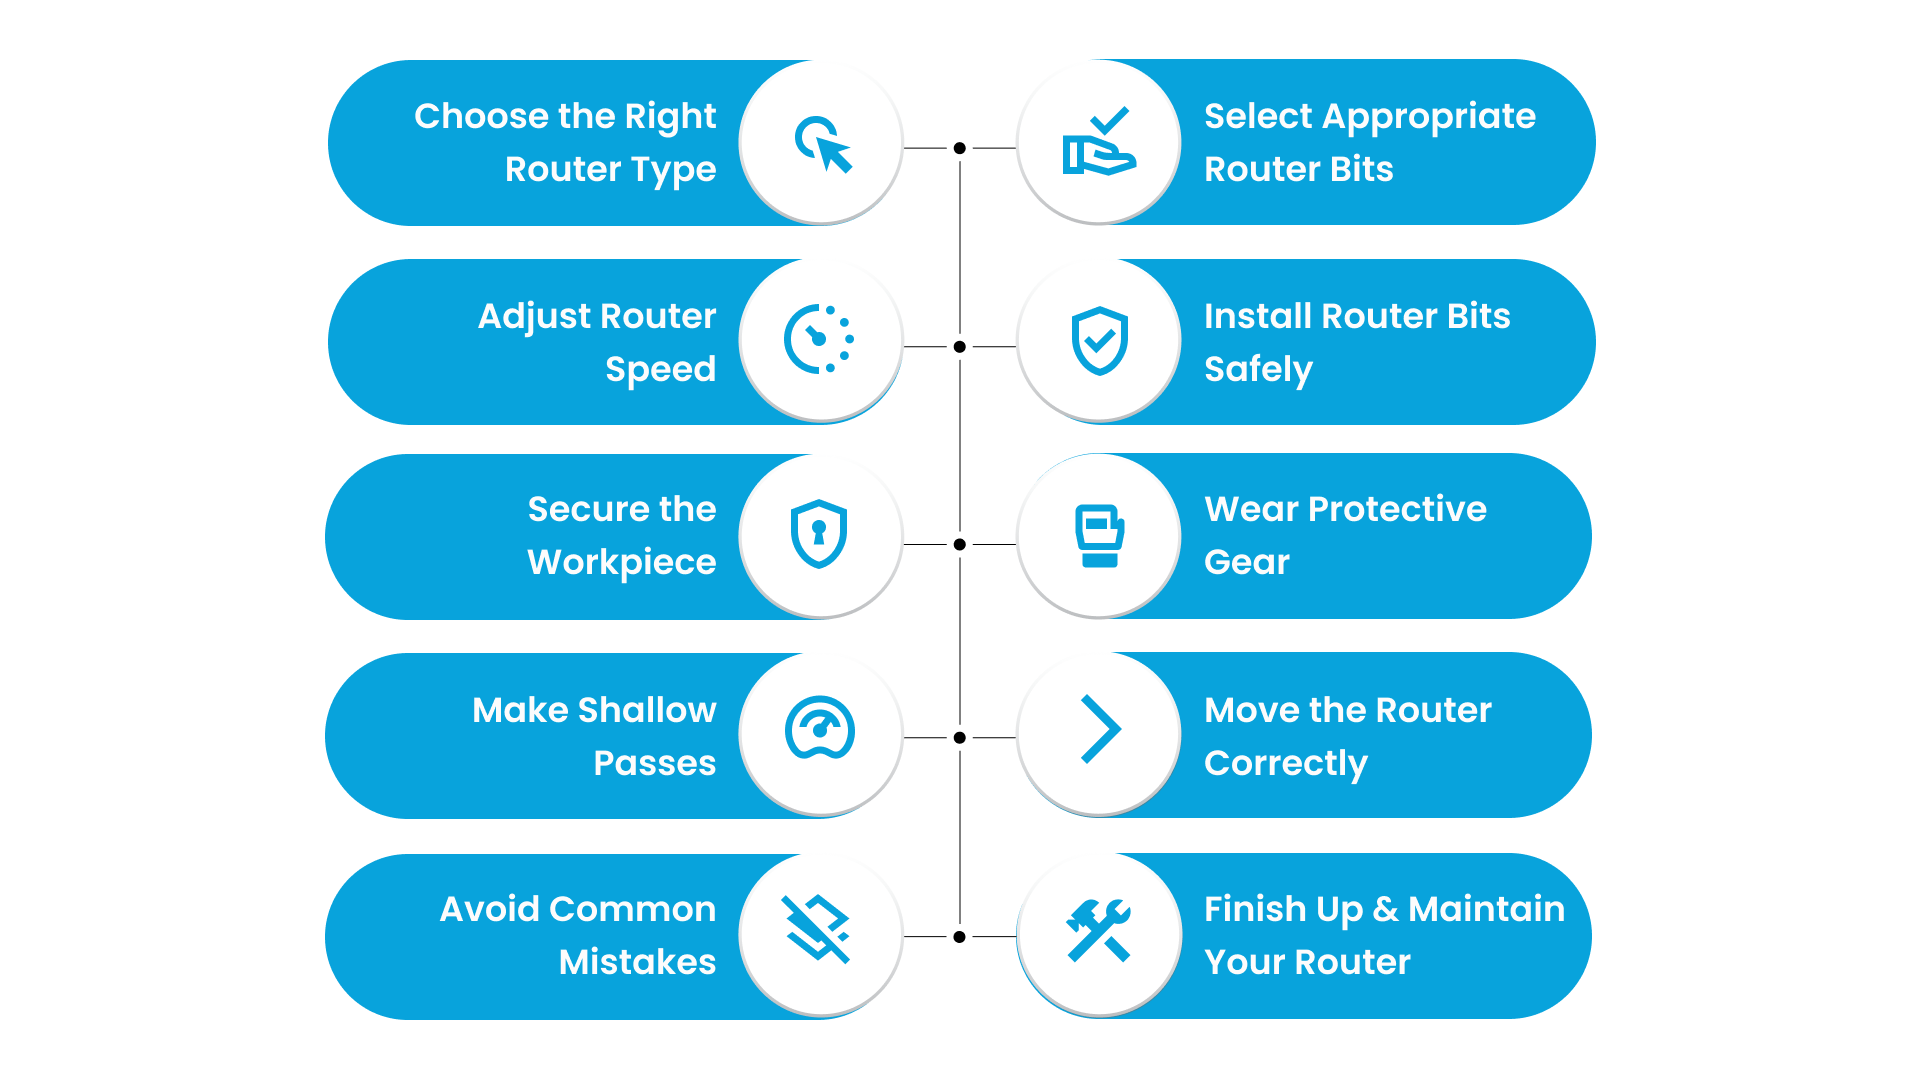
10 Practical Steps to Use a Wood Router Effectively
Wood routers are essential tools for woodworking professionals. They allow you to shape edges, create grooves, and perform precise cuts that would be difficult or time-consuming with manual methods.
Even experienced operators face challenges that can compromise precision, efficiency, and overall project quality. The key to overcoming these issues lies in proper setup, consistent technique, and safe operation.
Each step explains not just what to do, but why it matters and how it connects to the next stage of the workflow.
1. Choose the Right Router Type
The first step in any woodworking project is selecting the right router, as it sets the tone for precision, efficiency, and overall project quality.
Wood routers generally come in fixed-base and plunge models, each designed for specific tasks:
Fixed-base routers: Offer stability and control, making them ideal for edge profiling, shallow cuts, and repetitive work. They provide a steady platform that helps maintain consistent depth across long or straight cuts.
Plunge routers: Allow vertical movement of the bit, making them perfect for grooves, mortises, template-guided patterns, and intricate designs. They give you flexibility when starting cuts in the middle of a workpiece.
Why It Matters: Choosing the correct router type reduces the risk of errors, minimizes material waste, and ensures cleaner, more precise cuts. It also sets you up to select the right router bits, which are critical for achieving the desired cut style and finish.
2. Select Appropriate Router Bits
Once the router type is chosen, the next critical step is selecting the right router bit. Router bits determine the cut style, depth, and overall finish, and using the correct bit reduces mistakes while improving efficiency and quality.
Identify the cut type: Choose bits based on the project requirements like straight, chamfer, round-over, flush-trim, or dado.
Check bit condition: Ensure each bit is sharp, clean, and free from chips or damage to maintain smooth, precise cuts.
Match the bit to the material: Different wood types respond differently to softwoods require different bit angles than hardwoods to prevent tear-out or burning.
Why It Matters: Proper bit ensures clean, consistent edges, improves cut accuracy, and prevents unnecessary wear on both the tool and the material. Using components from Cutting Edge Plasma guarantees clean, consistent cuts.
Proper bit selection also sets the stage for correct speed adjustments, which are essential for maintaining a smooth, controlled cut.
3. Adjust Router Speed
After selecting the correct router bit, the next important step is setting the router speed. Proper speed ensures smooth, precise cuts, prevents burning, and extends the life of both the bit and the router.
The optimal speed depends on both the size of the bit and the type of material you are working with.
The table below outlines recommended approaches for these key factors:
Factor | Recommended Approach |
Bit Size | Smaller bits → higher RPM; Larger bits → slower RPM |
Material Type | Softwoods → faster; Hardwoods → slower |
Why It Matters: Correct speed adjustment improves cut quality, reduces material waste, and ensures a controlled, professional finish. It also prepares you for the next step of installing the router bit safely, which is essential for precision and operator safety.
4. Install Router Bits Safely
Once done with adjusting the router speed, the next crucial step is installing the router bit correctly. Proper installation is essential for both operator safety and cut precision, as a loosely fitted bit can cause accidents or uneven cuts.
Unplug the router: Always ensure the router is powered off and unplugged before installing any bit.
Secure the bit: Fully insert the bit into the collet and tighten it securely to prevent slippage during operation.
Double-check installation: Inspect the bit placement before turning on the router to confirm it is seated correctly and stable.
Why It Matters: Correct bit installation prevents accidents, maintains cut accuracy, and ensures smooth operation. Taking the time to verify installation sets the stage for the next step by securing the workpiece, which is key to consistent and safe routing.
5. Secure the Workpiece
Stabilizing the workpiece is a critical step for achieving accurate cuts and maintaining operator safety. A moving or uneven piece can lead to mistakes, damage to the material, or even accidents.
Use clamps or fixtures: Hold the wood firmly with clamps, router mats, or dedicated fixtures to prevent movement during routing.
Check the surface: Ensure the workpiece is level and free from debris that could affect stability or cause uneven cuts.
Employ jigs for precision: For repetitive or intricate cuts, use jigs or guides to maintain consistency across all pieces.
Why It Matters: Securing the workpiece allows for controlled, precise routing while minimizing the risk of errors or injuries.
With the material stable, the next step focuses on personal protective gear, which is essential for safe and efficient operation.
6. Wear Protective Gear
Additionally, prioritizing personal safety is essential when operating a wood router. Proper protective equipment keeps you safe from dust, debris, and noise while maintaining focus and efficiency.
Eye and ear protection: Always wear safety glasses and hearing protection to prevent injury from flying debris and loud noise.
Gloves and dust masks: Depending on the material and volume of work, gloves and dust masks may be necessary to protect your hands and lungs.
Respiratory protection: For hardwoods or extended routing sessions, consider using a respirator to minimize exposure to fine dust particles.
Why It Matters: Wearing the right protective gear reduces the risk of injury and allows you to work confidently.
7. Make Shallow Passes
Once you are properly equipped, the next step focuses on making controlled, shallow passes to ensure clean and accurate cuts.
Furthermore, controlling the depth of each cut is essential to maintain precision and reduce strain on both the tool and material. Removing too much material in a single pass can cause tear-out, uneven cuts, and unnecessary wear on your router bit.
Gradually increase depth: Always start with shallow passes and deepen the cut incrementally over multiple passes to maintain control.
Minimize tear-out: Taking lighter cuts reduces the risk of splintering and ensures clean, professional edges.
Improve handling: Incremental passes allow you to maintain a steady grip and precise movement throughout the cut.
Protect your tools: Lighter cuts reduce stress on the router and bit, extending their lifespan and preserving performance.
Why It Matters: Making shallow passes ensures cleaner, more accurate cuts while protecting your equipment.
8. Move the Router Correctly
Next, proper router movement is crucial for achieving smooth, accurate, and professional-quality cuts. How you guide the router directly affects cut precision and the finish of your workpiece.
Move against the bit’s rotation: Always guide the router in a direction opposite to the bit’s rotation, which provides better control and prevents the tool from pulling away unexpectedly.
Maintain a firm grip and steady pace: Keep both hands on the router and move at a consistent speed to ensure even cuts without wandering or wobbling.
Avoid rushing the cut: Working too quickly can cause chipping, tear-out, or uneven edges, compromising the quality of your project.
Why It Matters: Moving the router correctly improves control, ensures a smooth finish, and prevents damage to both the material and the bit.
9. Avoid Common Mistakes
Moreover, being aware of common pitfalls helps you save time, reduce material waste, and maintain project quality. Small oversights can lead to errors that affect both precision and safety.
Cutting too deep in a single pass: Avoid removing excessive material at once, as this can cause tear-out, bit strain, and uneven cuts.
Using an unstable workpiece: Always ensure the material is properly secured to prevent movement that could lead to mistakes or accidents.
Skipping bit inspection or setup verification: Check the bit for damage and confirm proper installation before each use to maintain safety and cut accuracy.
Why It Matters: Avoiding these common mistakes ensures smoother operation, higher-quality results, and safer working conditions.
10. Finish Up and Maintain Your Router
Finally, proper cleanup and maintenance are essential to prolong the life of your router, ensure consistent performance, and protect your investment. Taking a few extra minutes after each session prevents future issues and keeps your tools ready for the next project.
Task | Recommended Practice | Benefit |
Power Down | Always unplug the router before cleaning | Ensures safety and prevents accidental starts |
Clean Tool | Remove dust and debris from the bit and base | Maintains performance and smooth operation |
Inspect Bits | Check for wear, chips, or damage | Prevents errors in future cuts and ensures precision |
Storage | Store bits in dedicated cases | Protects tools and keeps them ready for use |
Why It Matters: Consistently finishing up with proper maintenance not only extends the life of your router but also guarantees reliable, high-quality results for every project.
With these practices in place, your router will remain a dependable tool for years to come.
Wood Router Operation: Key Challenges and Recommended Practices
Operating a wood router effectively is more than just switching it on. Even seasoned professionals can face challenges that affect precision, efficiency, and overall project quality. You may encounter issues such as uneven cuts, material waste, bit slippage, burning, or shortened tool life.
The table below outlines common issues you might face during router operation, along with practical best practices and the results you can expect when these practices are applied:
Common Challenge | Best Practice | Impact on Results |
Inconsistent Cuts | Select the correct bit for the task to match the desired cut profile. | Ensures accurate and repeatable cuts. |
Material Waste | Secure the workpiece properly using clamps or fixtures. | Reduces errors and prevents wasted material. |
Bit Slippage | Verify the collet holds the bit firmly and inspect for wear. | Enhances safety and prevents uneven cuts. |
Burning or Splintering | Adjust router speed to suit the wood type and bit size. | Maintains smooth edges and prevents material damage. |
Uneven Feed or Chatter Marks | Maintain a steady and consistent feed rate. | Produces clean, uniform edges and grooves. |
Reduced Tool Life | Regularly inspect, clean, and maintain the router and bits. | Extends tool lifespan and ensures reliable performance. |
Loss of Precision on Straight Cuts | Use fences or edge guides for reference during cuts. | Ensures straight, consistent, and professional-quality cuts. |
Why Choose Cutting Edge Plasma for Wood Routing Excellence?
Take the guesswork out of woodworking with Cutting Edge Plasma routers. Built for precision and reliability, these routers help you achieve clean, professional-quality results while keeping safety and efficiency at the forefront.
Every feature is designed to make your workflow smoother, reduce errors, and support consistent performance day after day.
Here’s how our features support smooth routing and guide you in how to use a wood router effectively:
1. Adjustable Depth Control
Our depth control lets you set the router bit at the perfect height for each cut, ensuring smooth grooves, clean edges, and consistent inlays. It works especially well on hardwood, softwood, and laminated boards, helping you achieve precise results without constant adjustments.
2. Edge Guides and Fences
When cutting along edges or corners, our stable guides and fences prevent slips and wandering cuts. This ensures straight, accurate lines and protects both your workpiece and router bit while maintaining clean edges on detailed designs.
3. Intuitive Router Control Interface
Our user-friendly interface allows you to adjust bit speed, feed rate, and cut paths without external tools. It keeps your workflow smooth, reduces errors, and ensures consistent results on every project.
4. Dust Extraction System
Our integrated dust collection keeps your workspace cleaner, reduces airborne debris, and improves visibility while cutting. This feature supports both operator safety and consistent, high-quality results.
5. Lifetime Tech Support and Warranty
We provide ongoing guidance to help you use your router safely and accurately. Our one-year warranty covers key components, giving you confidence and peace of mind during daily woodworking projects.
When you choose Cutting Edge Plasma, you simplify how to use a wood router, maintain safe operations, reduce errors, and achieve consistent, professional-quality results. Features like depth control, stable guides, intuitive software, and a cleaner workspace make it easier for you to work efficiently and confidently.
Conclusion
Using a wood router correctly helps protect your tools, achieve precise cuts, and keep projects running smoothly. By preparing your workpiece carefully, picking the right bit, and handling the router with care, you reduce mistakes, maintain consistent results, and extend the life of your equipment.
With Cutting Edge Plasma, you can simplify these routines. Features like adjustable depth settings, stable guides, and intuitive controls make achieving clean, professional-quality finishes easier and more reliable.
Take your woodworking projects to the next level and ensure safe, accurate, and efficient results. Contact Cutting Edge Plasma today to explore tools, tips, and expert guidance for using your router effectively.
FAQs
1. Is a router suitable for detailed or intricate work?
Absolutely. Using a plunge router with smaller bits allows you to create grooves, patterns, and fine details with precision and consistency.
2. How can I prevent tear-out on wood edges?
Take shallow passes, use sharp bits, and move the router against the bit’s rotation. These steps minimize splintering and deliver cleaner, smoother edges.
3. Which type of router is best for beginners?
A fixed-base router is ideal for beginners because it’s easier to control and provides stability. Starting with this type helps build skill and confidence on woodworking projects.
4. When should router bits be replaced?
Regularly inspect your bits and replace them if they’re dull, chipped, or damaged. Fresh bits ensure smoother cuts, reduce splintering, and protect your router.
5. How can I operate a wood router safely?
Wear protective gear, secure your workpiece firmly, and set the router to the correct depth. Following these safety practices prevents accidents and ensures precise, clean cuts.