There’s something addictive about the first time you watch a plasma cutter slice through steel clean, fast, and almost effortless. That’s why plasma cutting has become the go-to starting point for makers, fabricators, and weekend hobbyists who want to turn ideas into real, tangible projects.
The best part? You don’t need years of experience to create something impressive. Plasma cutting is one of the few fabrication skills where beginners can jump in quickly and see results the same day. And once you add CNC control into the mix, it opens the door to detailed designs, perfect repeats, and projects that look professionally made right from the start.
In this guide, you’ll find beginner-friendly project ideas you can actually cut, plus simple design rules and tips to help you get clean results even on your first few tries.
Key Takeaways
Plasma cutting is beginner-friendly, letting new makers create usable projects quickly with simple shapes, clean outlines, and minimal setup.
CNC plasma cutter designs (DXF files) make it easy to produce consistent, professional-looking parts even with limited experience.
The best beginner projects use thicker lines, wider gaps, and low-detail geometry, ensuring clean cuts and easy post-processing.
Starting with the right materials, consumables, and tools dramatically improves cut quality and reduces frustration for first-time users.
A CNC plasma table unlocks repeatability and business potential, allowing beginners to turn simple projects into profitable products.
What Makes a Good Beginner Plasma Cutter Project?
Not every cool plasma design is beginner-friendly. Your first few cuts should build confidence, not frustration, so the right project makes all the difference. Here’s what to look for when choosing your starter pieces:
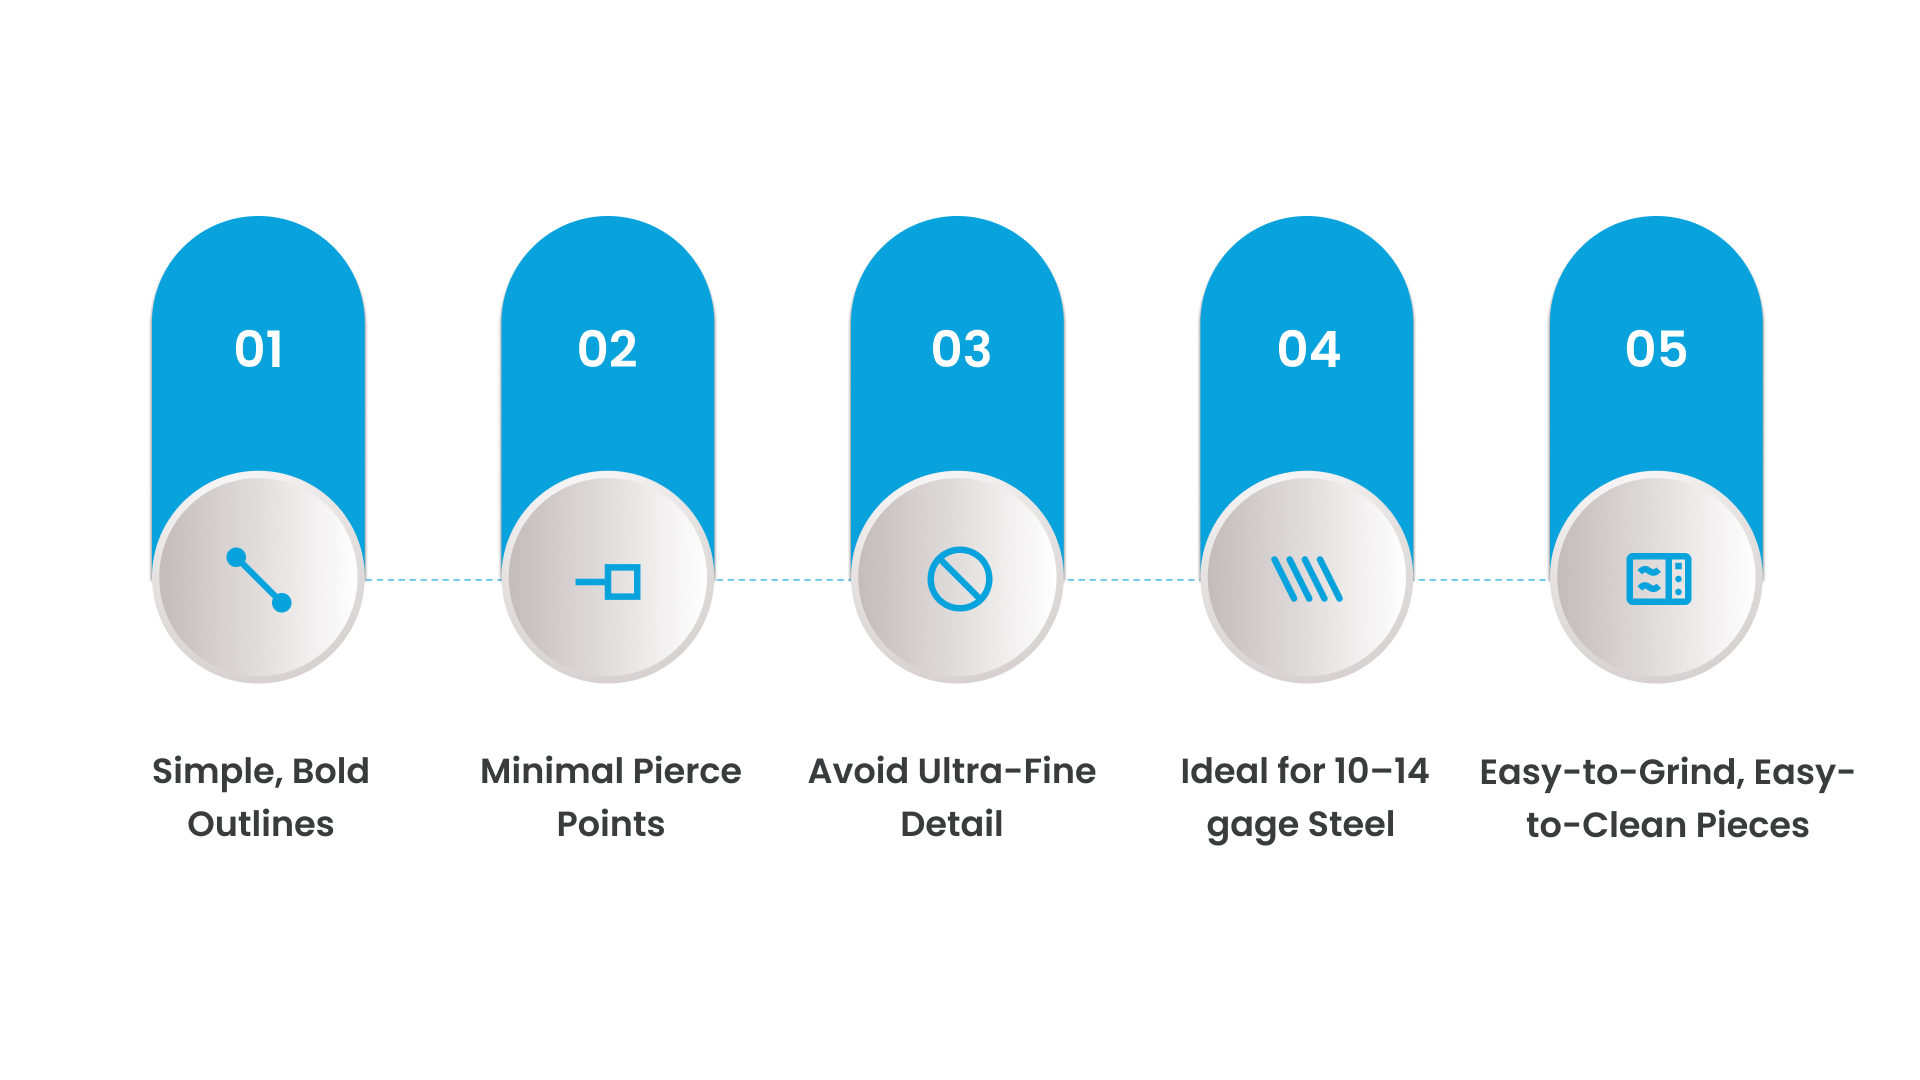
✔ Simple, Bold Outlines
Clean shapes with smooth curves or straight lines help you learn how your machine moves without risking messy edges or excessive cleanup.
✔ Minimal Pierce Points
Every pierce stresses consumables. Fewer pierces = cleaner cuts, longer consumable life, and fewer chances for blowouts.
✔ Avoid Ultra-Fine Detail
Thin lines, tiny islands, and overly complex patterns don’t translate well to plasma cutting, especially on lighter machines. Start with designs that have thicker features and wider spacing.
✔ Ideal for 10–14 gage Steel
This thickness range is easy for most plasma cutters to handle, cuts cleanly, and finishes quickly. It’s forgiving enough for beginners and affordable for practice.
✔ Easy-to-Grind, Easy-to-Clean Pieces
Beginners should work with parts that only need light touch-up, nothing requiring intricate sanding or grinding. Simple silhouettes and open shapes clean up the fastest.
25 Beginner Plasma Cutter Projects You Can Make Today
These beginner-friendly plasma projects are designed to build confidence, teach you how your machine behaves, and help you create pieces you’ll actually use or sell.
Super Easy Projects (Perfect for Your First 3–5 Cuts)
These require very few pierce points, forgiving geometry, and minimal cleanup.
1. Bottle Openers
Material: 12–14 ga
Difficulty: ★☆☆☆☆
Cut Time: 1–2 mins
Design Tip: Use chunky silhouettes; avoid thin inner bridges.
Beginner Mistake: Making the pry slot too small (plasma kerf removes detail).
2. Keychains
Material: 14–16 ga
Difficulty: ★☆☆☆☆
Cut Time: <1 min
Design Tip: Use stencil fonts for initials.
Beginner Mistake: Adding tiny text or extremely fine lines, which blow out on thin metal.
3. Simple Signs (Single Word or Outline)
Material: 12 ga
Difficulty: ★☆☆☆☆
Cut Time: 3–6 mins
Design Tip: Stick to bold lettering and wide bridges.
Beginner Mistake: Using script fonts with fragile connectors.
4. Hooks (Garage/Wall Hooks)
Material: 10–12 ga
Difficulty: ★☆☆☆☆
Cut Time: 2–4 mins
Design Tip: Add fillets (tiny curves) so the hook bends cleanly.
Beginner Mistake: Making the hook too thin → bends under weight.
5. Coasters
Material: 12–14 ga
Difficulty: ★☆☆☆☆
Cut Time: 2–3 mins
Design Tip: Try geometric patterns — easy and impressive.
Beginner Mistake: Over-detailing patterns with micro cutouts.
Beginner-Friendly Home & Decor Projects
These introduce curves, moderate detail, and multi-piece assemblies.
6. Wall Art Silhouettes
Material: 12–14 ga
Difficulty: ★★☆☆☆
Cut Time: 5–15 mins
Design Tip: Thick outlines cut cleaner and look better painted.
Pro Move: Add a simple “backer plate” for contrast.
7. House Numbers
Material: 12 ga
Difficulty: ★☆☆☆☆
Cut Time: 2–4 mins
Design Tip: Choose stencil-friendly fonts like “Bebas Neue” or “Impact Stencil.”
8. Garden Stakes
Material: 10–12 ga
Difficulty: ★★☆☆☆
Cut Time: 5–10 mins
Design Tip: Make the stake at least 16–20” for stability.
9. Fire Pit Panels
Material: 10 ga
Difficulty: ★★☆☆☆
Cut Time: 10–20 mins per panel
Design Tip: Use bold geometric cutouts to avoid weak, thin walls.
Beginner Mistake: Not accounting for heat expansion → warped panels.
10. Light Switch Plate Covers
Material: 14 ga
Difficulty: ★☆☆☆☆
Cut Time: 2–3 mins
Design Tip: Use simple border designs to frame the switch.
Useful Shop Projects
These teach practical fabrication skills and produce tools you’ll use every day.
11. Tool Holders
Material: 12 ga
Difficulty: ★★☆☆☆
Cut Time: 5–10 mins
Design Tip: Add slots wide enough for pliers, hammers, etc.
12. Brackets (Shelving or Structural)
Material: 10–12 ga
Difficulty: ★★☆☆☆
Cut Time: 3–6 mins
Design Tip: Add big radius corners, avoid hotspots during welding.
13. Welding Cart Add-Ons
Material: 10 ga
Difficulty: ★★☆☆☆
Cut Time: 5–10 mins
Design Tip: Tab-and-slot systems help beginners align pieces easily.
14. Custom Wrench Hangers
Material: 12 ga
Difficulty: ★☆☆☆☆
Cut Time: 3–5 mins
Design Tip: Use tapered slots for a snug wrench fit.
15. Magnetic Trays
Material: 12–14 ga
Difficulty: ★☆☆☆☆
Cut Time: 3–4 mins
Finishing Tip: Add a few simple bends for depth.
Small Business & Side-Hustle Projects
These have proven selling potential on Etsy, fairs, farm shows, and local shops.
16. Custom Name Signs
Material: 12 ga
Difficulty: ★★☆☆☆
Cut Time: 8–20 mins
Design Tip: Choose thick script fonts or monogram outlines.
Why It Sells: Personalized products = highest demand.
17. Farm & Ranch Signs
Material: 10–12 ga
Difficulty: ★★★☆☆
Cut Time: 10–30 mins
Design Tip: Balance detail vs readability from a distance.
18. Business Signage
Material: 10–12 ga
Difficulty: ★★☆☆☆
Cut Time: 10–25 mins
Why It Sells: High-ticket item, easy repeat business.
19. Personalized Gifts
Material: 12–14 ga
Difficulty: ★★☆☆☆
Cut Time: 5–12 mins
Examples: Last-name signs, pet silhouettes, anniversary dates.
20. Outdoor Fire Rings
Material: 10 ga
Difficulty: ★★★☆☆
Cut Time: 20–45 mins per panel
Assembly Tip: Make tab/slot joints for easy bending and fit.
Skill-Builders for When You’re Ready to Level Up
These aren’t “day one” projects, but they’re perfect once you’ve mastered smooth outlines, kerf awareness, and basic cleanup. Each one teaches a new plasma skill: tighter detail, fitment accuracy, simple bending, or multi-piece assembly.
21. Grill Grates
Material: 10 ga for the frame, ¼” bar or plate for the grate slats
Difficulty: ★★★☆☆
Cut Time: 10–20 minutes
Design Tips:
Keep spacing between slats consistent (⅜”–½” is ideal).
Use thick borders that won’t warp with heat.
Why It’s a Level-Up Project:
Requires precision so the grate sits flat and resists heat-induced distortion.
Beginner Mistake to Avoid:
Making the grate from thin sheet metal, it warps instantly.
22. Toolbox Drawer Dividers
Material: 14 ga (light duty) or 12 ga (heavy duty)
Difficulty: ★★☆☆☆
Cut Time: 5–10 minutes
Design Tips:
Add tab-and-slot joints for snap-fit assembly.
Leave extra clearance (0.015”–0.025”) so parts slide into place easily.
Why It’s a Level-Up Project:
Teaches basic CNC nesting and precise fitment.
Beginner Mistake to Avoid:
Designing tabs with too-small plasma kerf will weaken or remove them entirely.
23. Vehicle Accessories (Badges, Plates, Emblems)
Material: 12 ga for badges, 10 ga for brackets
Difficulty: ★★★☆☆
Cut Time: 3–12 minutes
Design Tips:
Use bold vectors—fine details disappear with kerf.
Add mounting holes as part of the design to save drilling.
Why It’s a Level-Up Project:
Introduces tolerances and design accuracy for real-world fitment.
Beginner Mistake to Avoid:
Using ultra-detailed logos—thin lines melt or blow out on steel.
24. Mailbox Inserts
Material: 12 ga steel
Difficulty: ★★☆☆☆
Cut Time: 8–15 minutes
Design Tips:
Use stencil-safe text for address numbers.
Keep outer borders thick for durability.
Why It’s a Level-Up Project:
Teaches custom sizing and proportional scaling in CAD/CAM.
Beginner Mistake to Avoid:
Forgetting to add mounting flanges or holes harder to retrofit afterward.
25. Custom Branded Tags (Logo Plates, Tool Tags, Product Labels)
Material: 14 ga steel or aluminum
Difficulty: ★★★☆☆
Cut Time: 1–3 minutes each (great batch project)
Design Tips:
Convert logos into single-line stencil-friendly artwork.
Keep small text >0.3” height for readability.
Why It’s a Level-Up Project:
Teaches batch production, consistent fixturing, and DXF cleanup skills.
Beginner Mistake to Avoid:
Using thin strokes or tiny fonts, plasma eats the detail.
CNC Plasma Designs & Essentials (What Beginners Need Before Cutting)
Before you load a sheet of steel onto your table, the most important part of your project is the design file itself. Clean geometry, correct spacing, and beginner-friendly materials make the difference between a smooth first cut and a frustrating one.
This section breaks down the essential concepts beginners need so they can design smarter and cut cleaner.
Where Beginners Struggle With Plasma Designs (DXF Reality Check)
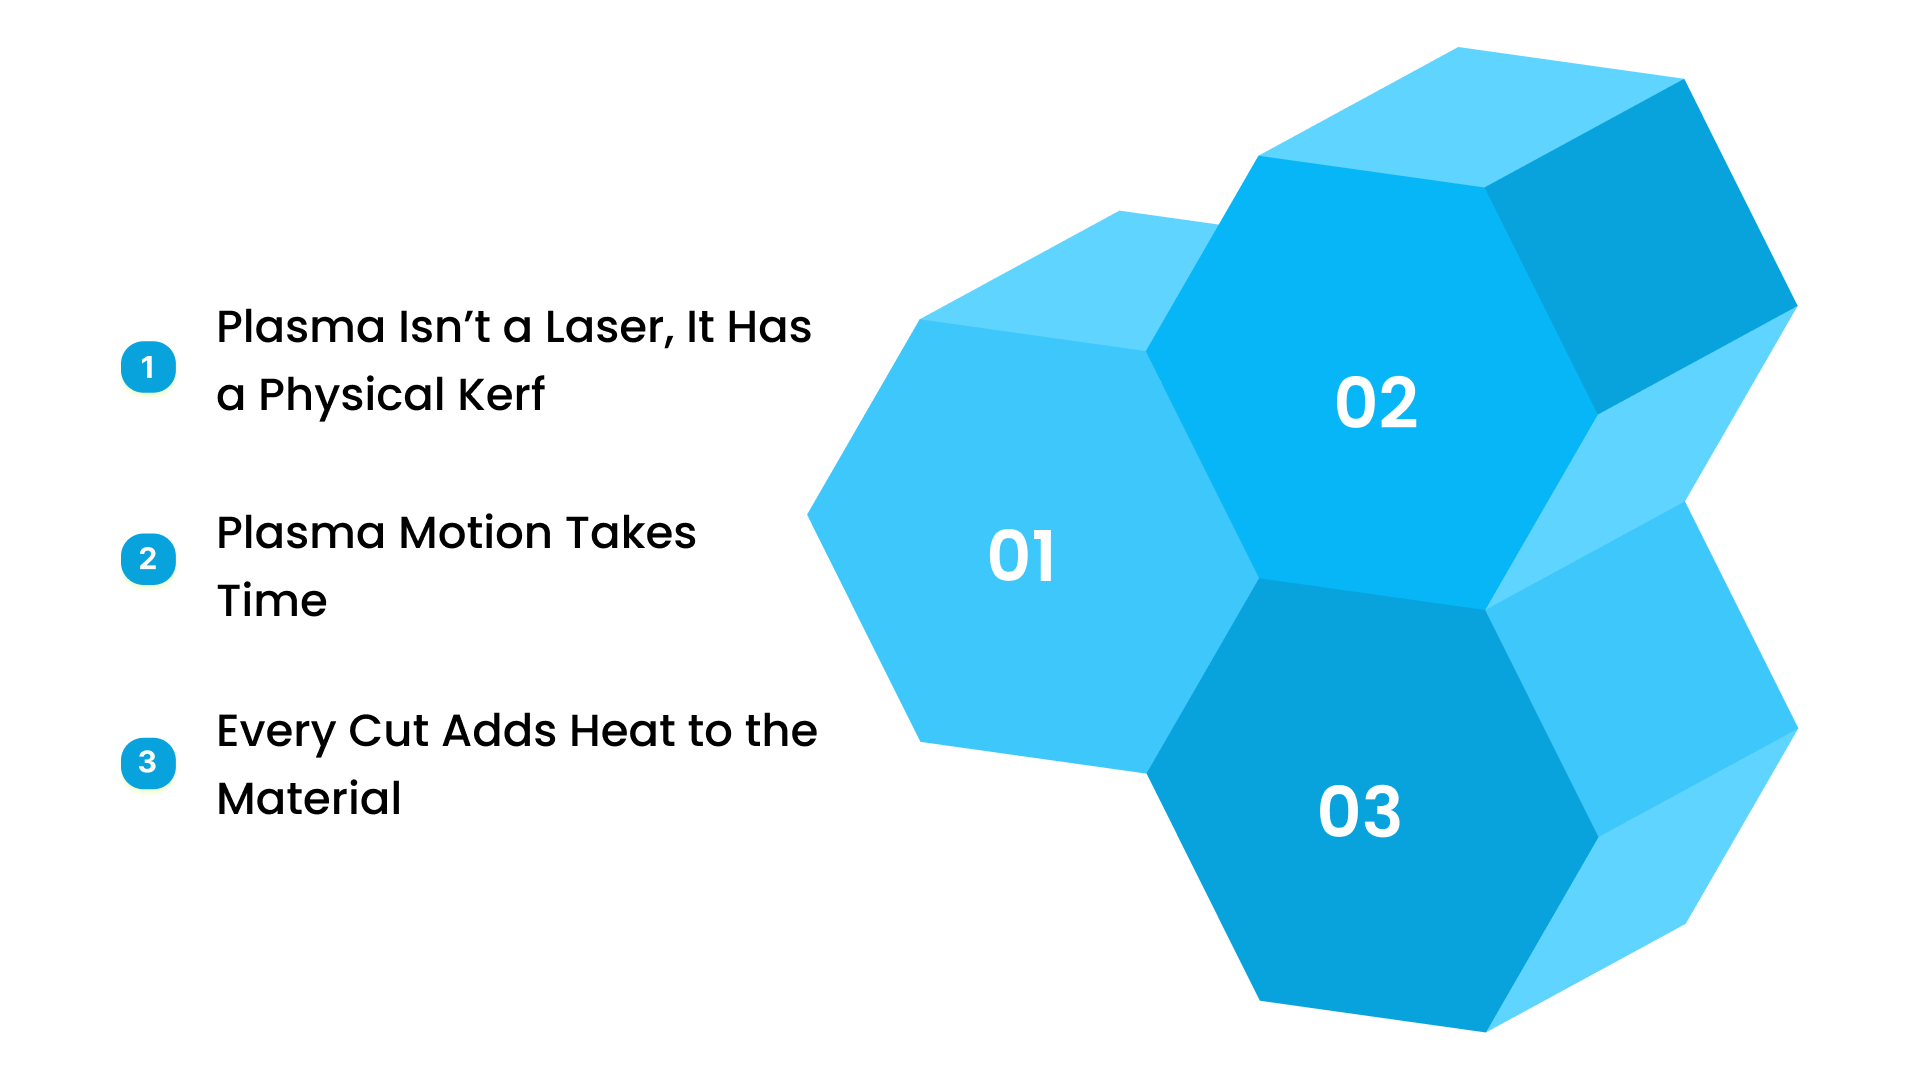
1. Plasma Isn’t a Laser, It Has a Physical Kerf
Plasma removes material using heat, which means extremely fine detail won’t survive. Expect:
Interior corners to round naturally
Thin elements to disappear
Letters to need bridges to stay connected
Understanding kerf early makes designing DXFs significantly easier.
2. Plasma Motion Takes Time
CNC plasma machines accelerate and decelerate, and their motion affects cut quality. Clean designs use:
Smooth curves
Fewer microscopic points
Continuous paths that avoid torch hesitation
This creates cleaner edges with less dross.
3. Every Cut Adds Heat to the Material
More pierce points = more heat buildup. Excess heat can lead to warping, blowouts, and messy edges.
Good beginner designs prioritize simple shapes that keep the torch moving.
Beginner-Friendly Design Rules (Kerf, Shapes, Fonts, Detail)
1. Keep Openings & Bridges at Least 0.1–0.15”
This prevents small islands from falling out and ensures text stays intact.
2. Use Plasma-Friendly Fonts
Best starter fonts include:
Bebas Neue
DIN Condensed
Impact
Army Stencil / US Stencil
These hold up well after kerf removal.
3. Follow the Thickness-to-Detail Ratio
Use this simple formula:
Minimum gap = 1× material thickness
Examples:
14 ga (0.075”) → minimum gap ~0.075–0.1”
10 ga (0.135”) → minimum gap ~0.135–0.15”
This keeps your designs strong and cut-ready.
4. Use Bold Geometry for Better Results
Plasma cutting performs best with:
Wide silhouettes
Big arcs
Chunky lettering
Strong outlines
You’ll get cleaner cuts and faster cleanup.
5. Run a Quick Simulation Before Cutting
Before exporting toolpaths:
Check for floating shapes
Make sure letters have bridges
Verify minimum gaps
Zoom to real scale
Simulate the entire cut path
A 1-minute preview saves a lot of wasted material.
Tools & Materials Every Beginner Should Start With
1. Ideal Material Thicknesses
The best beginner range is 12–14 gage mild steel because it:
Cuts cleanly
Produces minimal dross
Stays flat
It is affordable to practice with
Avoid aluminum and stainless early on—they’re less forgiving.
2. Beginner-Friendly Amperage Ranges
30–45A: Thin sheet
45–60A: Ideal all-around beginner range
70A+: Only for thick plate
Keeping amperage in the sweet spot leads to cleaner cuts and longer consumable life.
3. Consumables to Keep On Hand
Keep spares of:
Nozzles
Electrodes
Shield caps
Swirl rings
Retaining caps
Having duplicates ensures your project continues smoothly.
4. Essential PPE & Safety Gear
Start with:
Safety glasses + face shield
Leather or welding gloves
Fire-resistant clothing
Hearing protection
Proper ventilation or smoke extraction
Good safety habits lead to better, more confident cutting.
5. Finishing Tools for Clean Edges
Recommended beginner tools:
40–80 grit flap discs
Wire cup brushes
Deburring wheels
Scotch-Brite pads
Angle grinder
These help turn raw cuts into polished finished pieces.
Free & Low-Cost Places to Download CNC Plasma Designs
A few reliable places to find clean DXF files:
Etsy – Thousands of ready-to-cut designs
DesignBundles.net – Polished premium-quality vectors
DXFforCNC.com – Purpose-built plasma cut files
Vecteezy – Free and paid silhouettes
Maker communities – PlasmaSpider, Reddit r/CNC
Look for tags like “plasma ready” or “DXF cut ready” to save cleanup time.
For visual reference and project inspiration, check out the Cutting Edge Plasma gallery.
It’s a great place to see real projects, clean outlines, and beginner-friendly design styles.
Why CNC Plasma Makes Projects Easier
Handheld plasma cutters are great for learning, but CNC control unlocks a different level of speed, precision, and consistency especially when you’re trying to create repeatable projects or turn your work into a business.
Here’s why CNC plasma tables make beginner projects not only easier, but dramatically better.
Faster Cuts With Cleaner Results
With CNC control, the torch moves at an exact speed along a perfectly planned toolpath. No shaky hands, no inconsistencies.
You get:
Smoother curves
Straight, uniform lines
Faster cut times
Less post-grinding
Even simple projects look noticeably cleaner on a CNC table.
Perfect Repeatability for Projects You Want to Sell
Whether you’re making 5 bottle openers or 50 name signs, CNC plasma allows you to cut identical parts every single time.
Benefits include:
Batch production
Consistent sizing
No template-making
Easy reorders for customers
This is the biggest advantage for anyone considering side-hustle products.
Easy Scaling for Small Businesses
Once your designs are dialed in, scaling up is as simple as:
Copy → Paste → Nest on your sheet
Hit Start
You can produce more parts in a day than you could by hand in a week.
Built-In THC = More Consistent Cut Quality
Torch Height Control (THC) automatically adjusts the torch height during the cut — critical for beginners and pros alike.
THC helps ensure:
Clean edges
Minimal dross
Less warping
Reduced consumable wear
This gives beginners professional-looking results with less guesswork.
Anti-Dive = Better Detail in Corners & Small Shapes
When the machine slows down, like during tight curves or small holes, cheaper tables tend to let the torch “dive” into the material.
Anti-dive control prevents this by locking the torch height during slow-motion moves.
That means:
Sharper corners
More accurate text
Reduced blowouts
Cleaner small details
Essential for signs, art, and decorative projects.
Waterbed Cutting = Cleaner, Cooler Steel
Plasma cutting over a water table absorbs heat and traps smoke and sparks.
Benefits include:
Significant reduction in dross
Cooler metal (less warping)
Cleaner shop environment
Less post-processing
Waterbed cutting is especially helpful for beginners, the cut quality difference is immediate.
If you want project inspiration or want to see real-world results from shops using Cutting Edge Plasma tables, request a quote.
Conclusion
Plasma cutting is one of the most accessible ways for beginners to start making real, functional projects, fast. With just a few simple designs, the right material, and a basic understanding of how kerf and motion affect your cuts, you can turn raw steel into finished pieces that look clean, sharp, and professional.
As your confidence grows, CNC control opens the door even wider. Repeatable designs, smoother cuts, and easier scaling mean your projects can evolve from weekend practice pieces into sellable products or full-fledged small-business offerings.
Features like torch height control, anti-dive behavior, and waterbed cutting only make the process smoother and the results cleaner.
If you’re curious how others have used CNC plasma to level up their work, you can explore real projects, feedback, and inspiration from shops just like yours.
Check out the CEP Reviews to see what new and experienced fabricators are creating and what’s possible once you take the next step in your plasma cutting journey.
FAQs
What is the easiest plasma cutter project for beginners?
Bottle openers, keychains, basic signs, hooks, and coasters are the simplest plasma projects. They use clean outlines, require very few pierce points, and cut quickly on 12–14 ga steel perfect for building confidence on your first few runs.
Can you start a business selling plasma-cut projects?
Absolutely. CNC plasma projects like custom signs, ranch/farm art, fire pits, business logos, and personalized gifts sell consistently on Etsy, at markets, and to local clients. With CNC repeatability, beginners can turn small projects into profitable side-hustles or full shop offerings.
What thickness should beginners use?
12–14 gage mild steel is the best starting point. It cuts cleanly, stays flat, produces minimal dross, and is affordable for practice. Save stainless, aluminum, and thick plate for when you’re comfortable with torch height and speed settings.
Do I need a CNC plasma table to make these projects?
Not required, you can cut simple shapes with a handheld plasma cutter.
But CNC makes projects dramatically easier by offering:
Cleaner, more consistent lines
Perfect repeatability
Faster production
Better detail and less cleanup
If you want to sell plasma-cut projects, a CNC table is the recommended next step.