If you’ve ever handled a freshly cut metal part and felt those sharp, uneven edges, you’ve already met deburring, the simple process of removing burrs to create cleaner, safer, better-fitting parts.
But in real-world fabrication, deburring isn’t just a quick cleanup step; it’s the difference between parts that assemble smoothly and parts that fight you at every turn.
Maybe you’ve had a bracket that wouldn’t sit flush, a plasma-cut sign with rough edges you had to rework, or a customer pointing out imperfections you thought were minor.
Those small burrs quickly become big problems: wasted time, safety risks, inconsistent quality, and production slowdowns.
Deburring is where craftsmanship meets performance. Understanding how and why burrs form and how to remove or prevent them can instantly elevate the precision, finish, and reliability of every part that comes off your cutting table.
Key Takeaways
Deburring removes sharp edges and leftover material from metal parts, improving safety, accuracy, and overall finish after cutting or machining.
Manual, mechanical, thermal, electrochemical, and CNC-based deburring each suit specific materials, volumes, and finish requirements. Choosing the right method prevents rework and speeds production.
Plasma-cut parts often develop burrs from heat, speed, and height variations; optimizing machine settings can significantly reduce both burr formation and post-processing time.
The ideal deburring approach depends on part geometry, production volume, and finish expectations. Using a structured “Good / Better / Best” framework avoids wasted labor and inconsistent results.
High-quality CNC machines, such as CEP tables with THC, anti-dive control, advanced motion software, and waterbeds, produce cleaner edges, minimize burrs, and reduce total finishing effort.
What Is Deburring? A Simple Explanation
Deburring is the process of removing the small, unwanted pieces of material called burrs that cling to the edges of metal parts after cutting or machining.
These burrs may look tiny, but they create sharp edges, interfere with part fitment, and can compromise the final finish.
Deburring smooths these edges to create cleaner, safer, and more precise parts.
Why Burrs Form
Burrs appear whenever a cutting tool, bit, blade, or heat source breaks through metal. During operations like sawing, milling, drilling, grinding, or plasma cutting, material is displaced rather than removed perfectly cleanly.
This displaced metal curls, melts, or tears at the edge, forming a burr. Factors like tool wear, feed rate, cut angle, thermal distortion, and machine vibration all influence how severe burrs become.
Types of Burrs
Not all burrs look or behave the same. The most common types include:
Mechanical burrs: Created by physical cutting tools such as drills, saws, and mills.
Rollover burrs: The most common form of metal bends or folds over the edge during machining.
Tear burrs: Form when material breaks away unevenly instead of cutting cleanly.
Thermal burrs/slag: Found in plasma, laser, and oxy-fuel cutting due to molten metal solidifying along the edge.
Poison burrs: Small but needle-sharp protrusions that pose safety hazards.
Recognizing the type of burr helps determine the best removal method.
Why Deburring Improves Safety, Fitment & Part Quality
Unremoved burrs can cause a range of problems from cut hands to misaligned parts. Sharp edges endanger operators, while even a small burr can prevent parts from seating properly, leading to assembly issues and failed tolerances.
Burrs also affect coatings, paint adhesion, and final appearance. Proper deburring ensures smooth assembly, consistent quality, professional finish, and safer handling, no matter the part size or application.
What are the Different Ways to Deburr Metal?
Deburring isn’t a one-size-fits-all process. Different metals, cut qualities, batch sizes, and part geometries call for different finishing approaches.
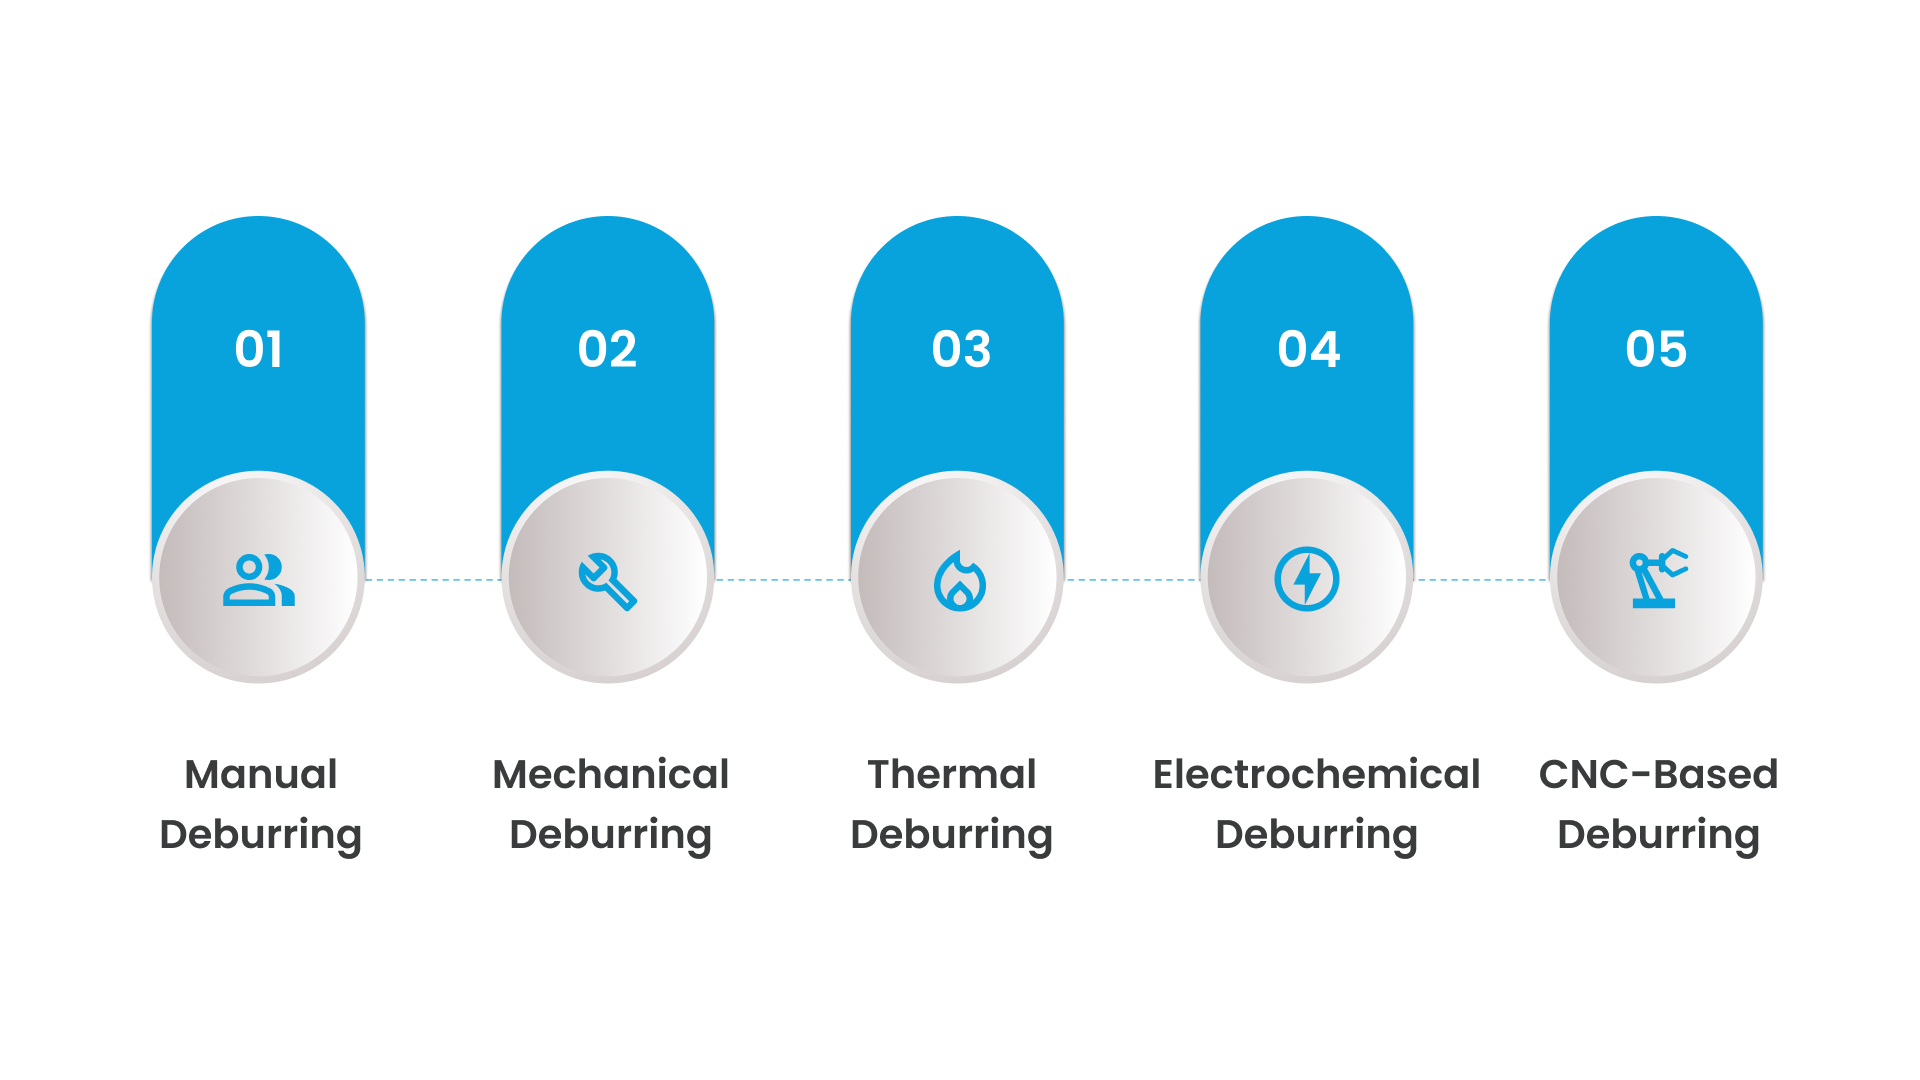
Below is a clear, practical breakdown of the main deburring methods and exactly when each one works best.
Manual Deburring
Manual deburring uses simple hand tools, files, scrapers, deburring knives, abrasive wheels, or rotary tools to physically remove burrs from the edge of the part. Because you’re working directly on the component, this method offers maximum control.
You can feather edges, clean tight corners, and correct imperfections that machines might miss. It’s slow, but ideal when accuracy or finesse matters more than volume.
Pros:
Lowest cost entry point
Highly controlled and precise
Perfect for delicate parts or complex edges
No specialized equipment required
Cons:
Slow for medium or high-volume work
Results vary with operator skill
Labor-intensive → higher long-term cost
Best For:
Prototypes, one-off parts, small batches, custom fabrication, or fine detail work.
Mechanical Deburring
Mechanical deburring uses powered equipment belt sanders, wide-belt machines, vibratory tumblers, grinders, or brushing systems, to remove burrs with far greater consistency than manual work.
Instead of relying on “feel,” these machines apply uniform abrasion, producing repeatable results across thousands of parts. It’s the workhorse of most fabrication shops.
Pros:
Fast and consistent
Capable of finishing large batches
Handles mixed part shapes (especially tumblers)
Reduces manual labor
Cons:
Higher upfront investment
Can round edges when sharp tolerances are required
Requires floor space and maintenance
Best For:
Batch production, flat metal parts, brackets, cut components, and repetitive manufacturing.
Thermal Deburring
Thermal deburring (TEM) uses a controlled combustion reaction inside a sealed chamber to burn away burrs instantly, especially internal burrs that tools can’t reach. The burrs ignite first due to their thin profile, vaporizing cleanly without harming the main surface.
This method is incredibly fast and thorough, but used mostly in precision industries due to equipment cost.
Pros:
Removes internal and hidden burrs
Extremely fast cycle times
Very clean results
Cons:
Expensive equipment
Not suitable for heat-sensitive materials
Typically limited to specific industrial applications
Best For:
Hydraulic components, internal passageways, fuel injection parts, and precision mechanical assemblies.
Electrochemical Deburring
Electrochemical deburring (ECD) uses an electrolyte solution and a low-voltage electrical current to dissolve burrs selectively. Because no tool touches the part and no heat is generated, tolerances remain perfectly intact.
The reaction targets the burr alone, giving a uniform finish ideal for high-precision manufacturing.
Pros:
Extremely precise
No mechanical or thermal stress
Protects surface finish and tolerances
Cons:
Requires specialized equipment
Only works on conductive metals
More complex setup
Best For:
Aerospace, medical devices, tight-tolerance machining, and parts with strict dimensional accuracy.
CNC-Based Deburring
CNC-based deburring uses programmed toolpaths—abrasive heads, ball-end mills, rotary brushes to automatically remove burrs as part of the machining process. This reduces manual intervention, increases consistency, and streamlines production.
When tuned correctly, the CNC removes burrs with exceptional precision, especially for machined parts or repetitive runs.
Pros:
Highly consistent and automated
Integrates into existing CNC workflow
Reduces labor and secondary operations
Perfect for high-volume precision work
Cons:
Requires programming time
Not ideal for heavy thermal slag
Some geometries still require manual touch-up
Best For:
Machined parts, repeat production, automation-focused shops, and workflows needing consistency.
Comparison Table: Deburring Methods at a Glance
Method | Best For | Speed | Precision | Cost | Volume Suitability |
|---|---|---|---|---|---|
Manual | Prototypes, custom work | Slow | Medium | Low | Low |
Mechanical | Batch production, flat parts | Medium–Fast | Medium | Medium | Medium–High |
Thermal (TEM) | Internal burrs, precision components | Very Fast | High | High | High |
Electrochemical | Tight tolerances, aerospace/medical | Medium | Very High | High | Medium |
CNC-Based | Machined parts, automation workflows | Fast | High | Medium–High | Medium–High |
Some cutting methods naturally create more burrs than others, and thermal cutting sits at the top of that list.
Plasma cutting, in particular, can generate heat-affected burrs if settings aren’t dialed in correctly.
To understand why plasma-cut parts often need deburring (and how to reduce it), let’s take a focused look at deburring in plasma-cut workflows.
Deburring for Plasma-Cut Parts (What Fabricators Should Know)
Plasma cutting is fast, versatile, and widely used, but even high-quality plasma systems can leave behind burrs if the setup isn’t dialed in.
Understanding why plasma-cut parts develop burrs (and how to prevent them) can dramatically cut down on finishing time and improve overall part quality.
Why Plasma Cuts Produce Burrs
Plasma cutting relies on a superheated ionized gas stream that melts metal and blows it away. When the molten metal doesn’t fully clear the kerf, it solidifies along the bottom edge as dross or small burrs.
Several factors contribute to this:
The intense heat softens and melts the material rapidly.
Molten metal doesn’t always eject cleanly.
The cut edge cools unevenly, causing buildup.
Material thickness or coatings can influence edge behavior.
Even the best plasma systems will produce burrs under certain conditions; it’s inherent to the process.
Machine Settings That Influence Burr Formation
The good news: most plasma-related burrs come from settings that can be improved. Key factors include:
Torch Height: Too high → wide kerf and dross. Too low → excessive drag lines and heavy burrs.
Cut Speed: Moving too slow causes big molten globs; too fast creates ragged burrs.
Amperage: Incorrect amperage causes incomplete cuts or overheated edges.
Air Pressure & Quality: Moisture, low pressure, or dirty air reduces plasma jet stability.
Consumable Wear: Worn tips, electrodes, or nozzles dramatically increase burr formation.
Dialing in these settings can convert a rough, inconsistent edge into a clean, nearly burr-free cut.
When Burrs Indicate Poor Cut Quality
Not all burrs are equal. Some light dross flicks off easily, but heavy, stubborn burrs usually signal a problem. Warning signs include:
Large, fused burrs that require grinding to remove
Jagged, inconsistent edges
Inward or outward bevels on straight cuts
Slag buildup that reappears after each cut
Parts that don’t sit flat or don’t fit properly
These aren’t minor imperfections; they point to torch height errors, incorrect speeds, bad consumables, or machine instability.
Fix the cut, and the deburring workload drops dramatically.
How to Reduce Burrs During Cutting, Not Just After
The best time to fight burrs is during the cutting process, not at the grinder. Smart adjustments can prevent 50–80% of burr formation:
Optimize Torch Height: Maintain a stable standoff distance with reliable THC (Torch Height Control).
Match Speed to Material: Use recommended feed rates for each material thickness.
Keep Consumables Fresh: Replace worn nozzles, electrodes, and shields before quality drops.
Use Clean, Dry Air: Ensure your compressor and filtration system deliver consistent pressure.
Check Your Grounding: Poor grounding can cause arc instability and messy edges.
Use a Water Table: It cools the cut zone, reduces dross, and minimizes heat distortion.
Follow Material-Specific Parameters: Stainless, aluminum, and mild steel each behave differently.
Reducing burrs upfront saves time, reduces finishing fatigue, extends consumable life, and delivers cleaner, more professional results with less work.
How to Choose the Right Deburring Method
Choosing a deburring method is about understanding which one fits your parts, production pace, and finish expectations. Here’s a simple, practical framework to help you make the right call every time.
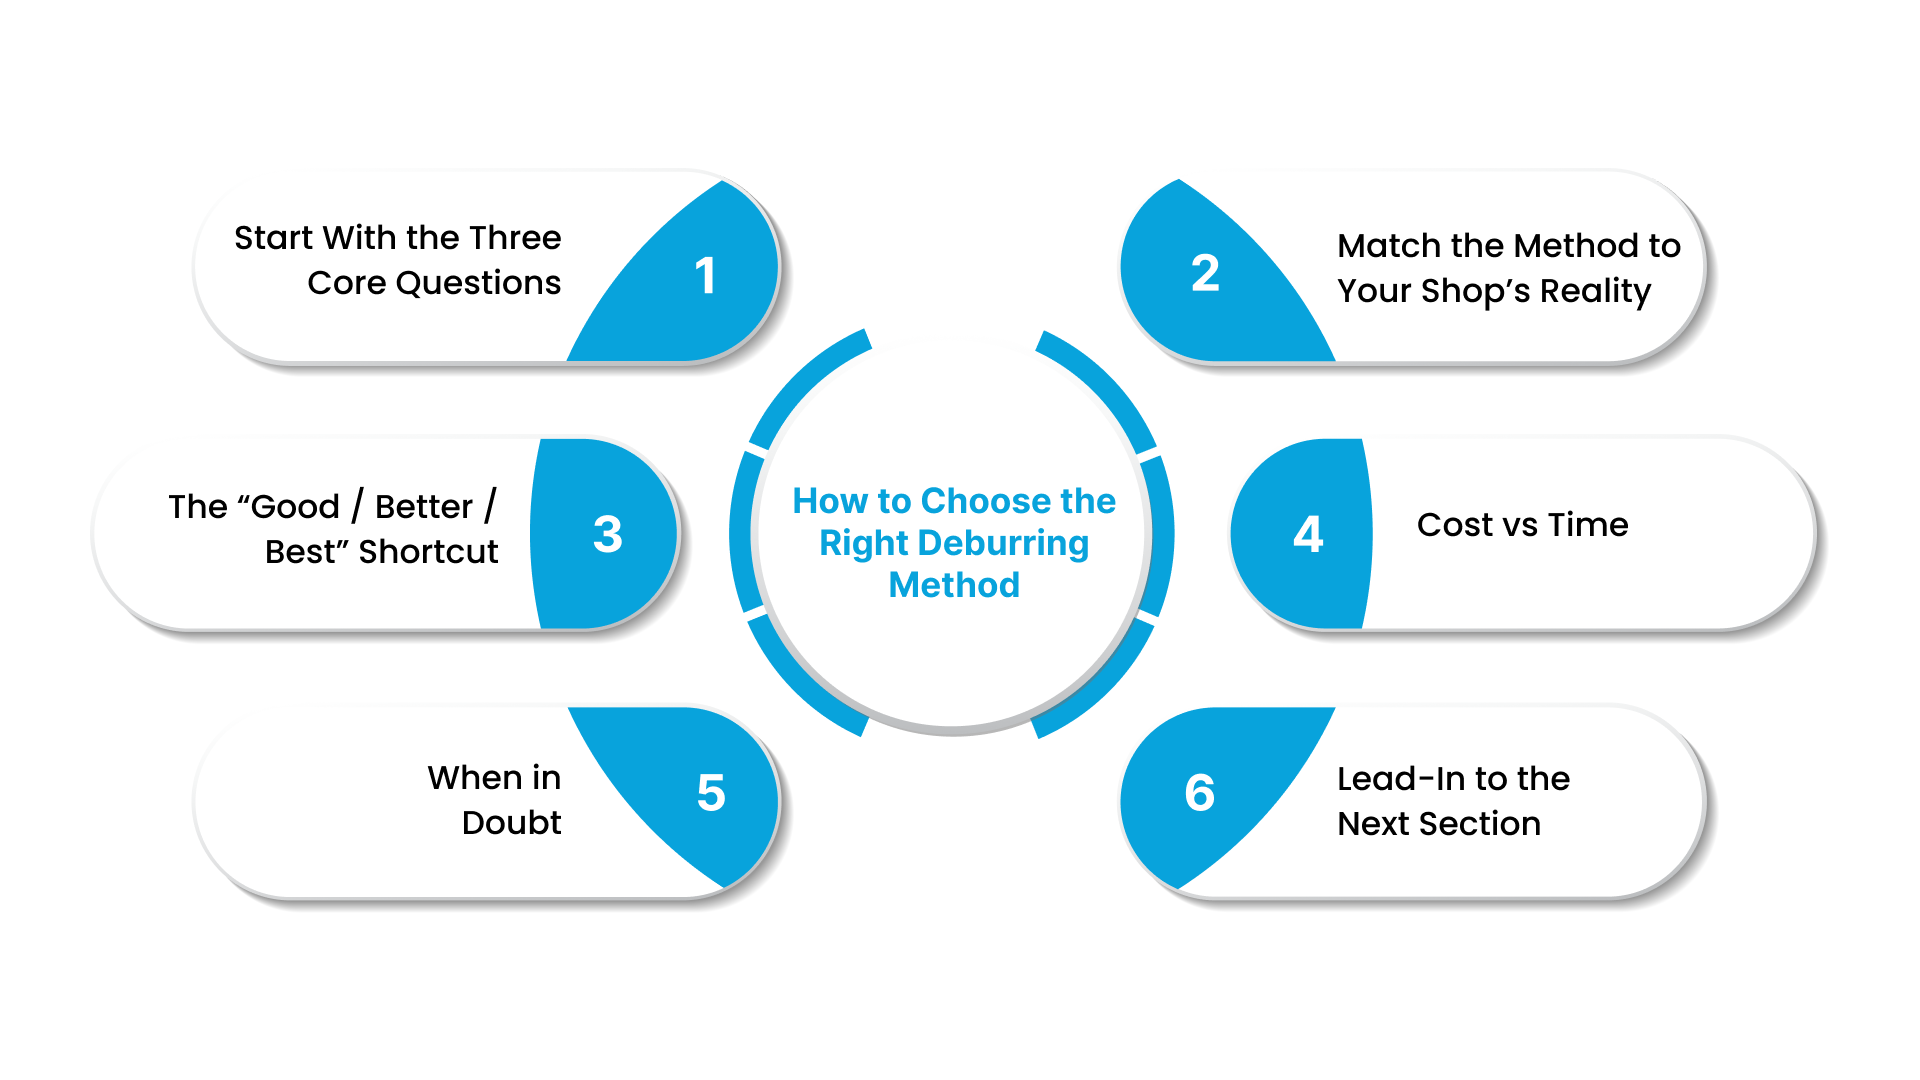
1. Start With the Three Core Questions
Ask yourself:
1) How many parts are you finishing?
1–20 parts: Manual
20–200 parts: Mechanical
200+ parts: Mechanical or CNC-based
Volume is the fastest way to narrow the field.
2) What finish quality do you need?
Functional fit: Manual or mechanical
Consistent, repeatable edges: Mechanical or CNC
Precision tolerances: CNC or electrochemical
This avoids over-investing in a method that’s “too good” for the job.
3) How complex is the part shape?
Flat plates or brackets: Mechanical
Complex contours: CNC or tumbling
Internal passages: Thermal or electrochemical
If the burr is hard to reach, that alone determines the method.
2. Match the Method to Your Shop’s Reality (Not the Theory)
For small shops/hobbyists
Choose methods that:
✔ don’t require big equipment
✔ work well for varied part shapes
✔ offer maximum control
Best fit: Manual → small mechanical tools (belt sander, deburring wheel)
For growing fabrication shops
Your bottleneck becomes consistency and speed, not capability.
Best fit: Mechanical deburring → integrate basic CNC deburring where possible
For high-volume or industrial operations
You need throughput, tolerance control, and automation.
Best fit: CNC deburring → electrochemical/thermal only if required by complexity
3. The “Good / Better / Best” Shortcut (Zero Overthinking)
Use this logic when you need fast direction:
GOOD: Manual
Low investment, high flexibility
Higher labor time
Best for one-offs, prototypes, or simple cleanup
BETTER: Mechanical
Faster and consistent
Ideal for small-to-midsize shops
Great for repeated shapes and batches
BEST: CNC / Electrochemical / Thermal
Highest precision, lowest labor
Most consistent
Best for automation, tolerances, and complex parts
You can choose correctly just using this block.
4. Cost vs Time: Pick Based on What Hurts More
If time is your bottleneck → use Mechanical or CNC
They cut the finishing time dramatically.
If budget is your bottleneck → choose Manual
Cheap to start, even if labor-heavy.
If consistency is your bottleneck → choose Mechanical or CNC
Reduces operator-dependent variation.
If precision is your bottleneck → choose Electrochemical
Removes burrs without changing tolerances.
5. When in Doubt: Choose the Method That Reduces Grinding
Grinding is the slowest and most fatiguing part of finishing.
The right deburring method is the one that lets you:
remove the burr
without removing too much material
and without adding excessive manual labor.
This avoids the #1 mistake fabricators make: over-grinding.
6. Lead-In to the Next Section
No matter which deburring method you choose, one truth applies across all shops:
If your plasma cutter is producing too many burrs, you’re fixing symptoms instead of the root cause.
Common Deburring Mistakes And How to Avoid Them
Even experienced fabricators can lose time and part quality to avoidable deburring mistakes. Here are the most common issues and how to fix them before they slow down production or worsen edge quality.
1. Over-Grinding
It’s easy to remove more material than intended, especially when using aggressive wheels or trying to “rush” the finish. Over-grinding thins edges, alters dimensions, and can even weaken structural parts.
Why does it happen?
Dull or oversized abrasive wheels
Too much pressure
Poor visibility
Trying to compensate for heavy burrs
Avoid it:
Use lighter passes, smaller abrasive tools, and ensure the burr root cause (cut quality) is fixed, not masked with excessive grinding.
2. Using the Wrong Tools
Not all burrs respond to the same tool. A flat sander won’t clean inside corners, and a fine deburring knife won’t remove hardened slag.
Why does it happen?
“One tool fits everything” mindset
No differentiation between slag and burrs
Using cutting tools meant for a different metal
Avoid it:
Match the tool to the burr:
Light burr → knife or hand scraper
Medium burr → deburring wheel or brush
Heavy slag → grinding or mechanical methods
Internal burrs → specialty processes
3. Heat Buildup During Deburring
Friction-based deburring (grinding, sanding, brushing) generates heat. Too much of it can cause discoloration, warping, or unintended hardening on the edge.
Why does it happen?
Excessive pressure
Worn abrasives increase friction
Staying in one spot too long
Avoid it:
Let the abrasive do the work. Use sharp tools, lighter pressure, and keep movement steady to avoid heat concentration.
4. Ignoring Root Causes in CNC Cut Quality
If every part needs heavy deburring, the real issue isn’t your finishing process, it’s your cutting setup. Torch height, speed, worn consumables, and air quality can all generate unnecessary burrs.
Why does it happen?
Treating symptoms instead of diagnosing
Not checking consumable wear
Rushing cut setups
Using outdated or unstable motion control
Avoid it:
Fix the cut quality first:
Check torch height control
Replace worn consumables
Use material-specific cut parameters
Maintain good grounding and airflow
A few small adjustments can eliminate up to 50–80% of burr formation.
5. Quick “Do This Instead” List
When you want faster, cleaner, safer results:
✔ Use fresh, sharp abrasives
✔ Make multiple light passes instead of one aggressive grind
✔ Choose the right deburring tool for the burr type
✔ Keep parts cool. Heat is the enemy of clean edges
✔ Fix plasma cut settings if burrs repeat consistently
✔ Use a water table or effective fume extraction to reduce dross
✔ Build a simple quality check into your workflow
These small habits prevent rework and keep deburring efficient instead of exhausting.
How Better CNC Cutting Reduces Deburring
When your CNC plasma table delivers stable motion, consistent torch height, and controlled heat, burr formation drops dramatically.
Cutting Edge Plasma (CEP) machines are designed with exactly this purpose in mind: helping fabricators get smoother edges upfront, so finishing becomes faster, lighter, and far less labor-intensive.
Below are the features that make that possible.
Cleaner Cuts = Less Finishing
Every burr you remove during deburring is a burr that formed due to excess heat, height fluctuation, or unstable motion. CEP tables minimize these issues at the source:
Cleaner kerfs
Less bottom-edge dross
Fewer fused burrs
More consistent edge quality across the sheet
That means less grinding, less touch-up time, and a smoother workflow from cutting to assembly.
How Integrated THC Reduces Inconsistent Cut Heights
Torch Height Control (THC) is one of the biggest contributors to clean plasma edges. CEP machines use an Integrated THC system that continuously adjusts the torch height as the metal moves, heats, or warps.
Better THC =
Correct stand-off distance
Stable arc
Smooth kerf lines
Reduced top and bottom burrs
Instead of manually adjusting height or dealing with the fallout of a wrong height, THC keeps everything consistent.
How Anti-Dive Control Prevents the Torch From Dipping in Corners
Many plasma tables suffer from “torch dive,” where the torch drops during slow movements (like corners or holes). This causes harsh gouging, angled edges, and severe burr buildup.
CEP’s Anti-Dive Control detects slowdowns and locks the height automatically, preventing:
Torch dipping into the material
Melted edges
Heavy, fused dross
Overgrinding during finishing
This feature alone saves operators significant cleanup time.
How MyPlasm CNC Software Improves Edge Quality
CEP machines run on MyPlasm CNC, an advanced motion control system designed specifically for plasma cutting. Clean cutting isn’t just about hardware; software matters just as much.
MyPlasm CNC helps reduce burrs by:
Sending full G-code before cutting (reducing interference)
Maintaining smooth motion paths
Automatically adjusting lead-ins and lead-outs
Optimizing corner handling
Providing on-screen diagnostics to correct cut issues
The result? Straighter lines, cleaner corners, and far fewer defects that require deburring.
How CEP’s Waterbed Minimizes Dross and Warping
A waterbed beneath the cutting surface cools the metal instantly, reducing heat buildup—the primary cause of slag and burrs.
Benefits include:
Less slag solidifying on edges
Cooler material = fewer warps
Improved cut stability
Cleaner bottom edges
Significantly reduced post-processing time
Water tables are often optional on other CNC brands, but CEP includes them as a standard feature, which directly benefits anyone trying to reduce deburring.
Why CEP CNC Tables Reduce Labor Hours and Material Waste
Cleaner cuts mean:
Less grinding per part
Lower consumable costs
Better fit-up during assembly
Fewer rejected pieces
Higher throughput
Shorter lead times
Reduced operator fatigue
In other words, CEP tables streamline the entire finishing workflow.
For fabrication shops trying to scale, this can translate into thousands of dollars saved annually in labor and consumables.
See the Results for Yourself.
If you want cleaner cuts, less finishing work, and a more efficient fabrication process, a CEP CNC table can make an immediate difference.
Request a Quote today and see how much time and material you can save with a cleaner, more consistent cutting system.
Conclusion
Deburring turns sharp, inconsistent edges into components that assemble cleanly, feel safe in hand, and meet spec on the first try.
The smartest way to shrink finishing time is to start with a cleaner edge. Stable motion, accurate torch height, and controlled heat reduce burr formation at the source so your grinder becomes a touch-up tool.
That’s where Cutting Edge Plasma stands out: integrated THC, anti-dive behavior, MyPlasm motion control, and a standard waterbed work together to deliver edges that require minimal post-processing and keep your floor moving.
Want proof from real shops? Check the CEP Reviews to see how teams like yours are cutting cleaner and finishing faster.
Then request a quote to run the numbers for your workflow.
FAQs
What is deburring?
Deburring is the process of removing small, unwanted material—called burrs—from the edges of metal parts after cutting or machining. It creates smoother, safer, and better-fitting components.
Do plasma cutters leave burrs?
Yes. Plasma cutters can leave burrs or dross, especially if torch height, speed, air quality, or consumables are not properly set. High-quality plasma tables with stable motion and good THC help minimize this.
Can CNC machines deburr?
Yes. CNC routers and mills can perform automated deburring using programmed toolpaths, brushes, or abrasive heads. This method improves consistency and reduces manual finishing time.
How do I prevent burrs?
You can reduce burrs by optimizing plasma cut settings, maintaining correct torch height, using clean, dry air, replacing worn consumables, setting proper feed rates, and using a water table to cool the material.